
Design Lesson
Design lesson: A holiday entryway

Design lesson: A holiday entryway
Design Lesson
Design lesson: A holiday entryway
With the holidays right around the corner, it’s time to make an entrance. My wife and I are big fans of setting up the front hall for the holiday season, and it’s worth investing a little time and money to remove clutter, spruce things up and make the space really impactful. Here are my favourite quick fixes to deck your front hall just in time to kick off the party season. 
Photography by Barry Calhoun
1 Organize closets
Everyone has that one closet that turns into a dumping ground. Custom closet organizers can help you keep track of your outerwear, dog leashes, sporting equipment, bags, hats, and mitts. If you prefer, pick up a closet organizer and install it yourself in an afternoon. Clearing up the front hall clutter makes your place a home sweet home, indeed.
2 Deck your doors
Now’s the perfect time to replace that drafty front door with something new and inviting – and with a built-in window light, perhaps. The days are only getting shorter and darker, so why not let in some of that natural light we get this time of year? If you like the door you already have, double-check the weatherproofing around it. Save yourself some money on utilities by weatherstripping and increasing the efficiency of your front door, giving yourself the greatest gift of all: a lower utility bill.
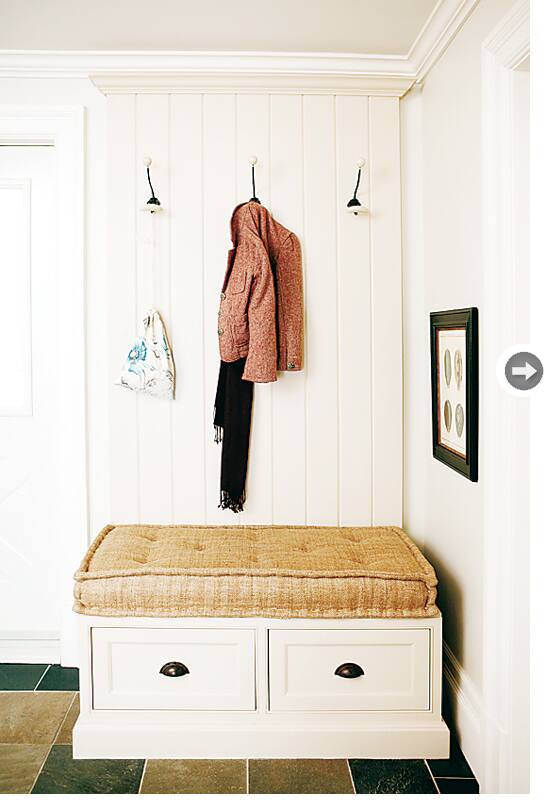
Photo by Monic Richard
3 Heap it or hide it
Don’t let your entrance become a cluttered eyesore. With any luck, you’re going to have a lot of boots and shoes at your door this holiday season. Before your entry becomes a huge slush pile, take some time to clear out the summer and fall gear. If you’re handy, you can build your own bench, which will provide much-needed storage – and make room for company. Or you can buy a storage bench that complements your decor. Having a place to lace up before heading out is always appreciated.

Photo by Andreas Trauttmansdorff
4 When in doubt, just paint it out
Paint always gives you the biggest bang for your buck. The switch to a lighter colour can open up your front hall and give the illusion of more space. Always make sure you choose a paint shade that complements the rest of the colours in your home – this isn’t the place to go festive!
5 Light it up
I don’t think a dimly lit front hall sets the right tone for the holiday season. Take advantage of some of the great deals out there by picking up a new entry light fixture. Put it on a dimmer switch so you can control the amount of light you need.

Photography by Ted Yarwood
6 Deck the halls
• A garland on the staircase always draws the eye. Hold your garland in place with large green pipe cleaners, and make sure it doesn’t scratch up your banister. Tip: If you have lights in your garland, find the closest plug first and plan out your scheme from there. Don’t put the garland up first, and then hope that the light strands reach a plug.
• Nothing says holiday “camouflage” quite like a wreath on the front door to hide any scratches. But remember - don’t drill right into your door to secure one. Use a small flat-head nail right on the top of your door, and then attach durable ribbon, rope or twine to suspend the wreath.
• Throw down a festive front hall mat to disguise imperfections in your flooring.
What it costs
- The cost of materials to make your own front hall storage bench can be as low as $75. Your hardware store may even precut the pieces, making your weekend project even easier.
- Going from shabby to chic by installing a new light fixture on a dimmer can cost as little as $100 or as much as $2,500, depending on your budget. Invest wisely.
- You can spend anywhere from $200 to more than $2,000 on closet organizing systems, depending on customization. Frankly, for the front hall, I’d save your money and splurge elsewhere.
- Paint, some rollers and brushes cost less than $60. Paint with primer added will save you time and money. Remember that 3.78 litres of paint will cover about 400 square feet.
Comments